Select an IP and an FQDN for Rancher UI and create and entry on your local DNS
| rancher.example.com | 10.10.10.159 |
Load Balancer
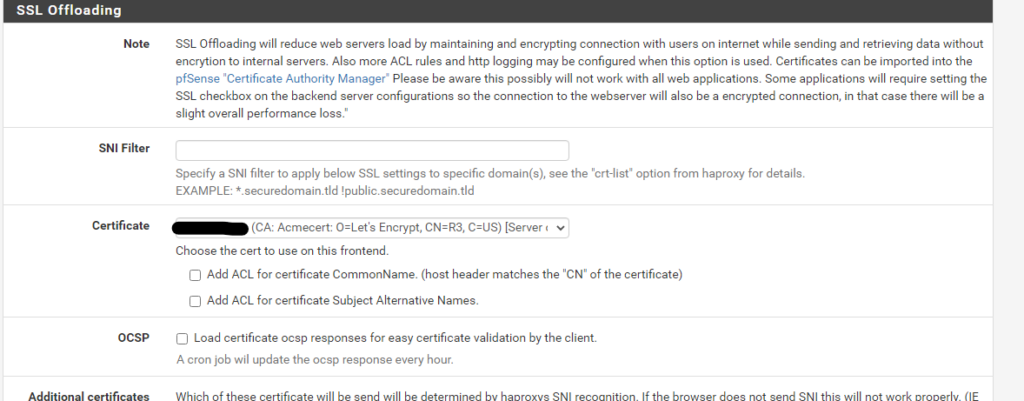
Use the ACME plugin in pfsense to request and add a certificate for rancher.
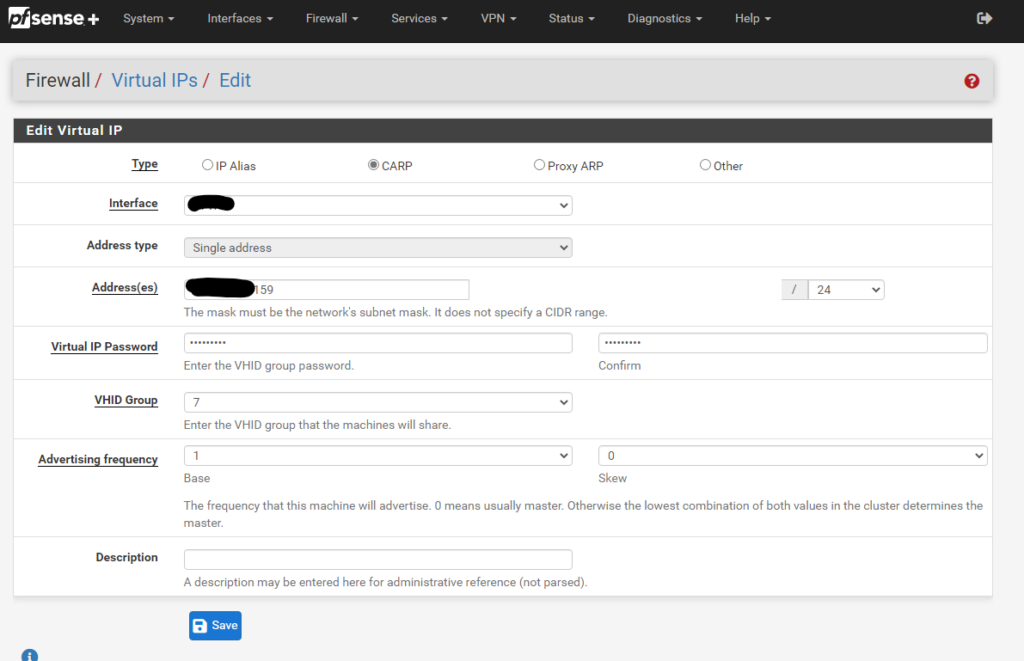
Then we go to our pfsense and configure one more Virtual IP like we did in part 3
Click on Apply changes and create two firewall rules that allow ports 80 and 443 to access the ip address of the load balancer

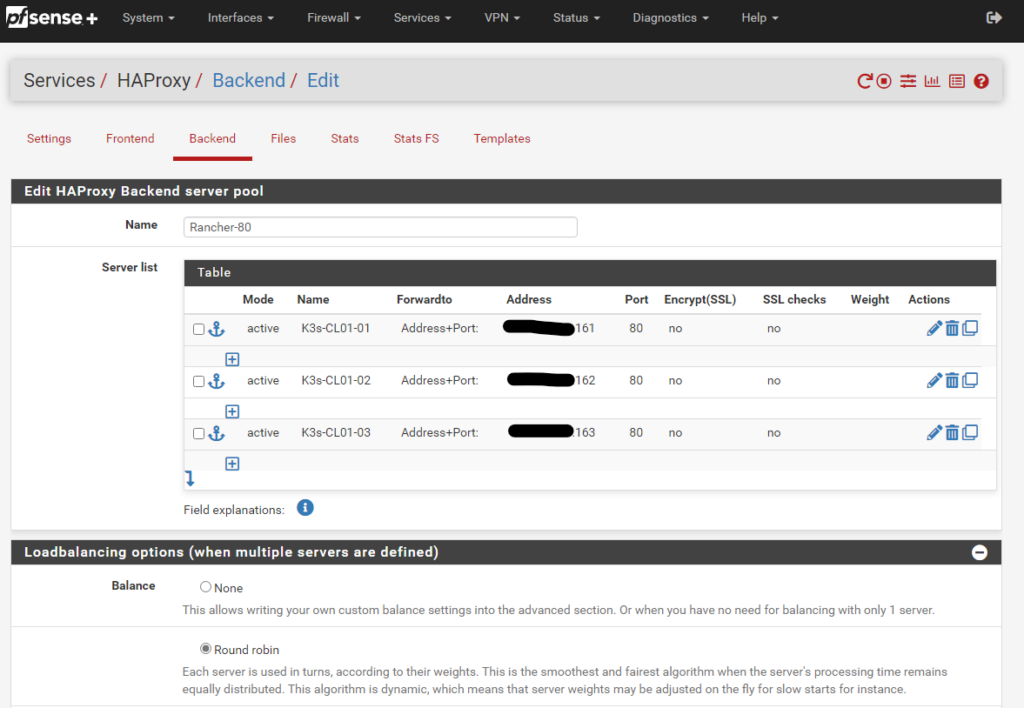
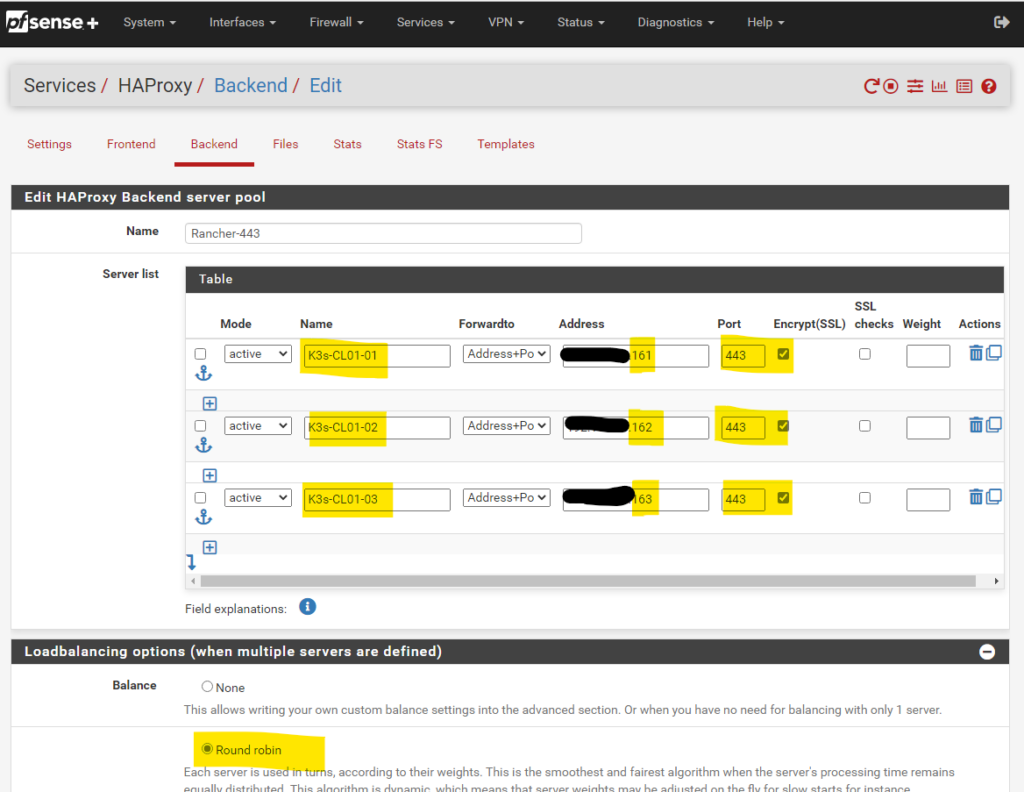
Then we navigate to HAProxy, Backend and create a new Backend server pool with the three master node IPs for ports 80 and 443
- Load Balancing option Round Robin.
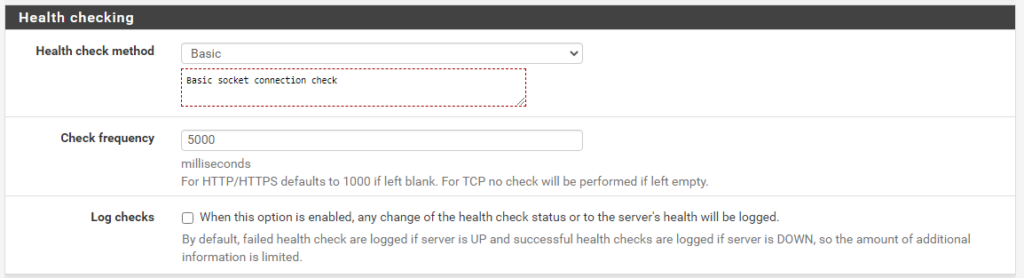
- Health check Basic
- Backend pass thru
- option forwardfor
- http-request set-header X-Forwarded-Host %[req.hdr(Host)]
- http-request set-header X-Forwarded-Port %[dst_port]
Backend port 80


Backend port 443

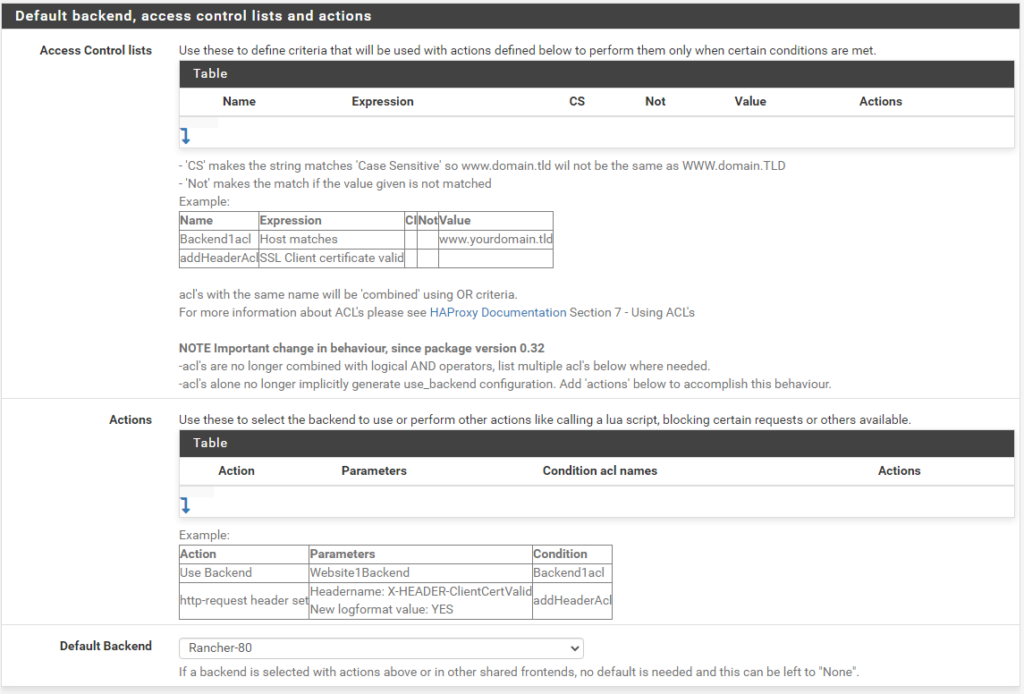
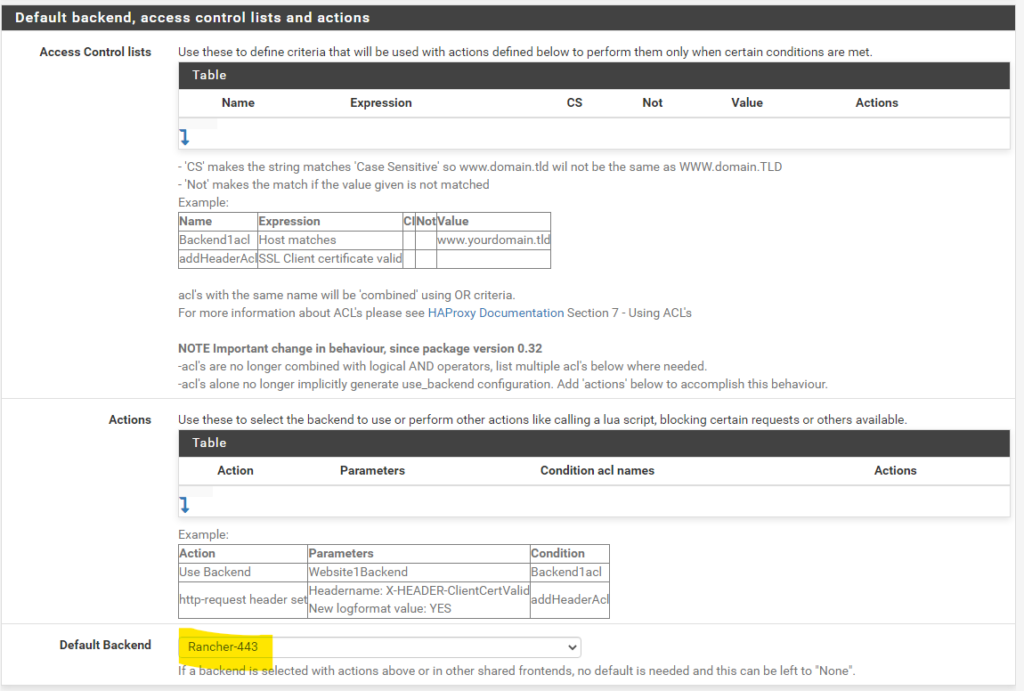
Then create two Front Ends pointing to the respective Backends
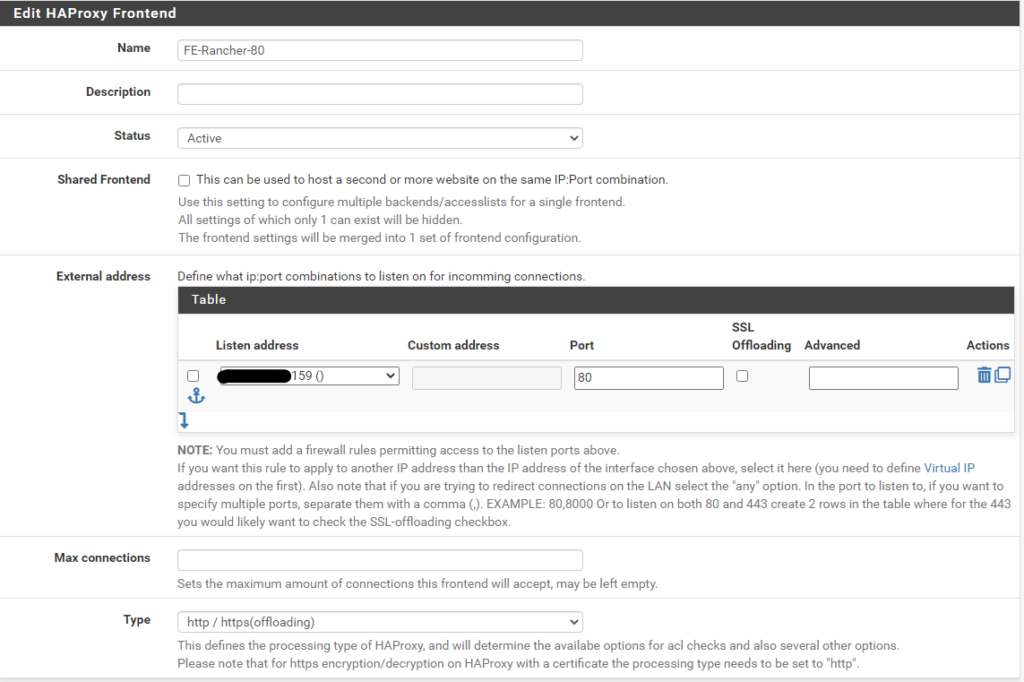
Frontend port 80
Frontend port 443

Cert Manager
Although we are going to use pfsense for SSL termination, Cert-manager is needed in order to create self signed certificates for the Kubernetes apps including Rancher
In the previous part we added the helm repo for cert-manager called jetstack. Now we go back to our Admin node and install cert-manager. At the time of writing Rancher suggests version 1.7.1
First let’s deploy the Custom Resource Definitions
kubectl apply --validate=false -f https://github.com/cert-manager/cert-manager/releases/download/v1.7.1/cert-manager.crds.yamlAnd then through Help deploy cert-manager
helm install cert-manager jetstack/cert-manager \
  --namespace cert-manager \
  --create-namespace \
  --version v1.7.1
Rancher
Last thing before we deploy rancher is to create a namespace
kubectl create namespace cattle-system