
Some useful tips for optimization.
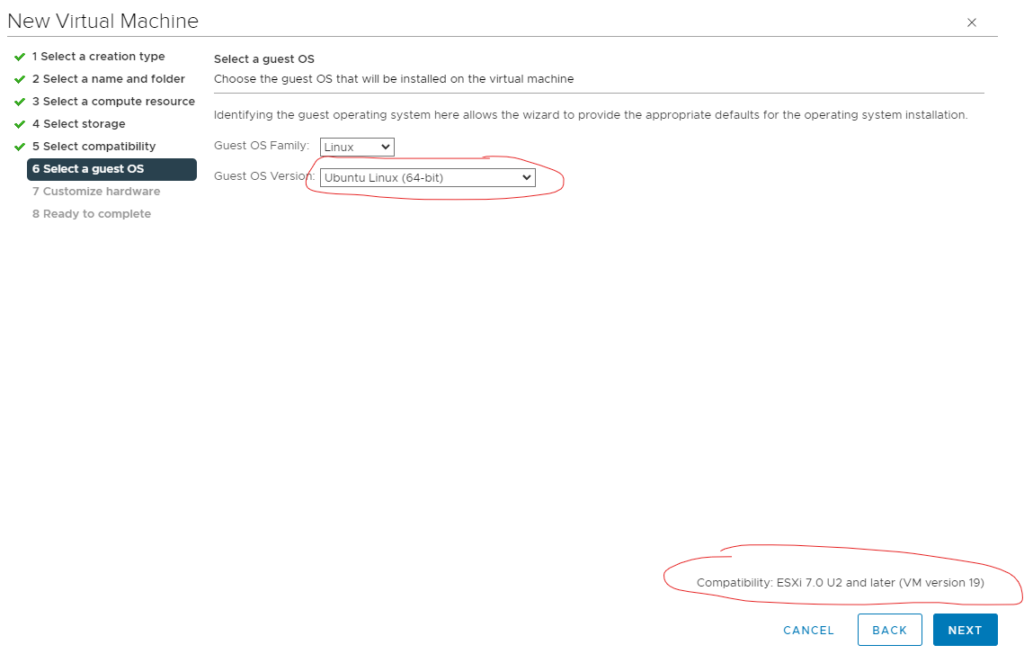
This is by no means a full “how to” install Ubuntu on ESXi. I am just sharing the steps I use to install a new Ubuntu VM on my ESXi. It will require a bit of knowledge on both ESXi and Ubuntu
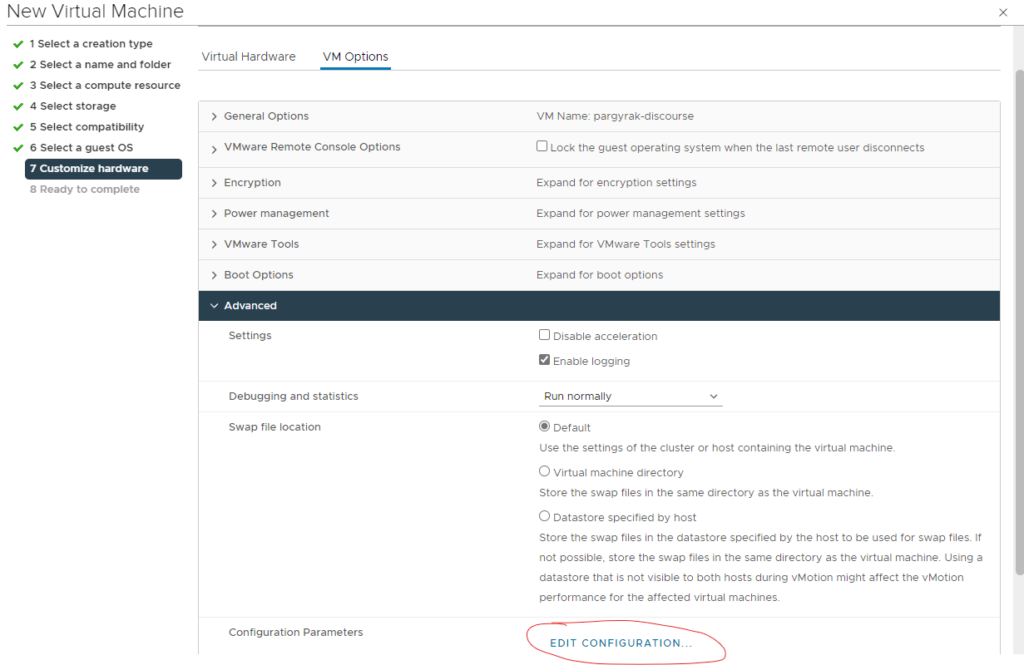
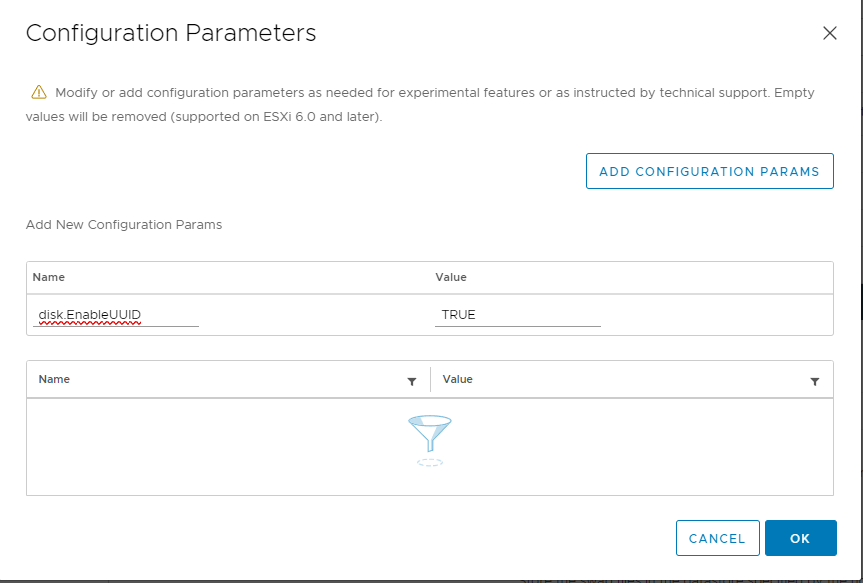
Attention! If you are going to clone this VM or use it as a template, DO NOT USE this parameter while preparing the template. You can add the parameter on the final VM.
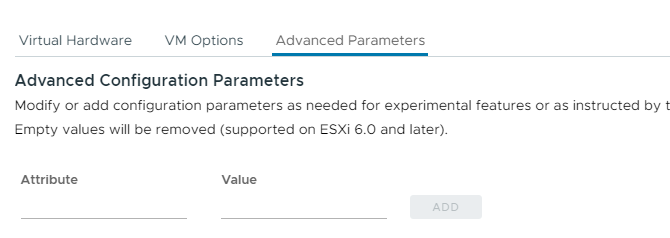
Note for 8.0 The Configuration Parameters got renames as Advanced Parameters and have been upgraded to their one tab
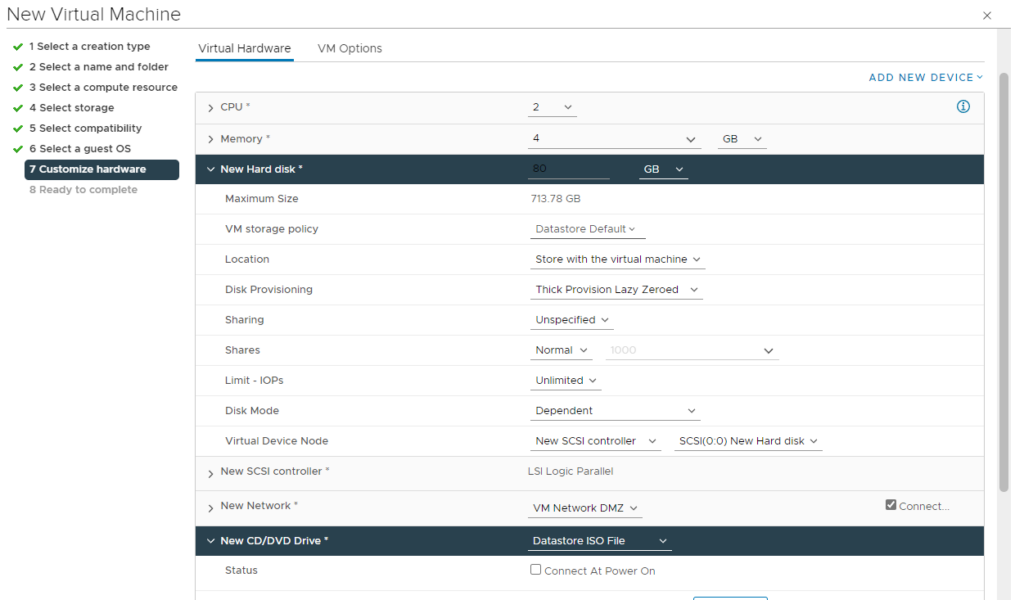
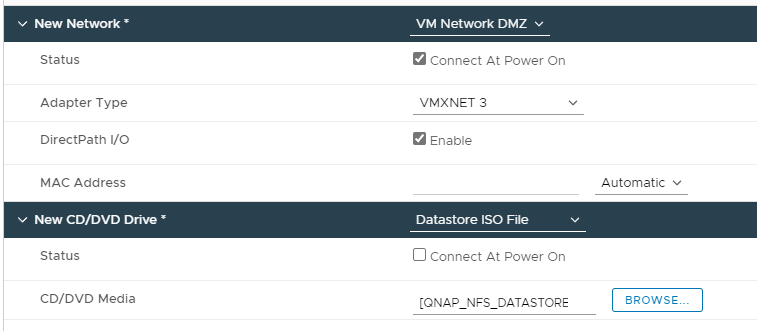
Make sure the CD/DVD pointing to the .iso image file is Connected and fire up the VM. Launch the Web console and go through the installation steps according to your needs.
After the reboot the first thing I do is
apt update && apt dist-upgradeand reboot.
Now if you run df -h the LVM is only using half the disk:
/dev/mapper/ubuntu–vg-ubuntu–lv 39G 6.1G 31G 17% /
let’s increase the capacity to full with
sudo lvextend --extents +100%FREE /dev/mapper/ubuntu--vg-ubuntu--lv
sudo resize2fs /dev/mapper/ubuntu--vg-ubuntu--lvand now if you run df -h
/dev/mapper/ubuntu–vg-ubuntu–lv 78G 6.1G 68G 9% /
That’s it!