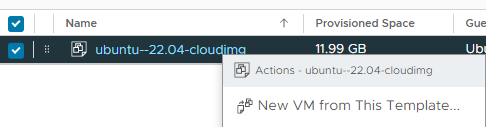
Right click on the Template and select New VM from This Template
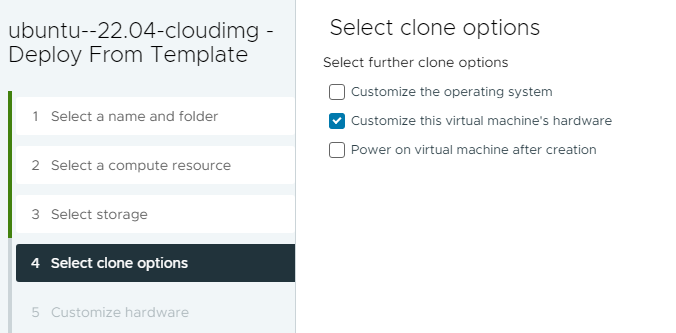
Give it a name, select the compute resource, the storage and on the clone options check on Customize this virtual machine’s hardware before clicking Next
I placed 2 CPUs, 4Gb of RAM and 40Gb or storage. You can always change these options later and resize the disk. Do not forget on the Advance Parameters to add
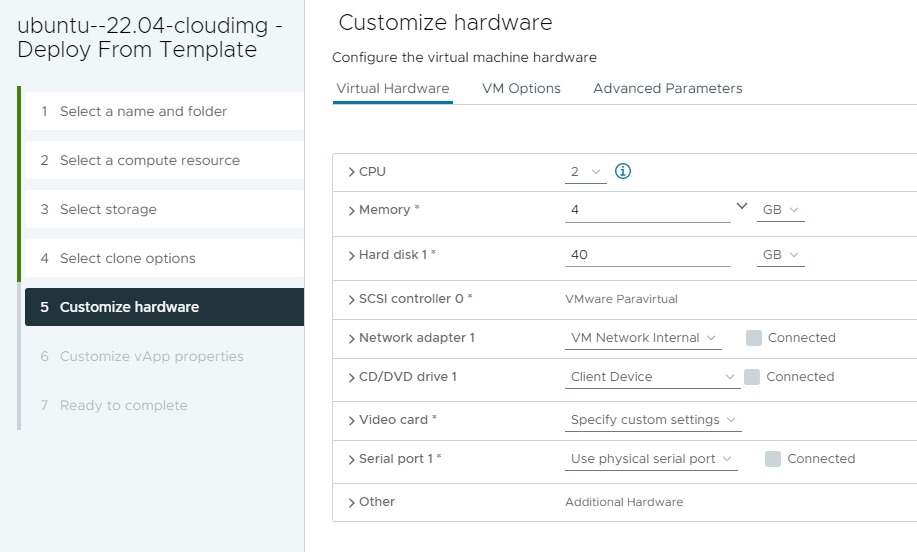
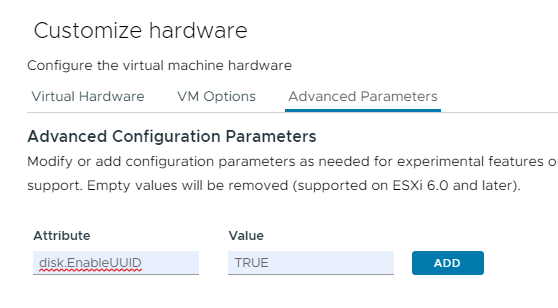
Do not forget on the Advanced Parameters to add a configuration parameter disk.EnableUUID and set the value to TRUE as described in this post.
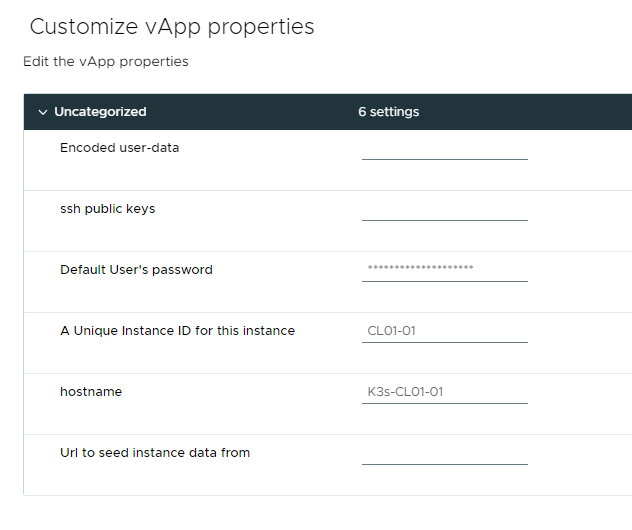
AT the Customize vApp properties place a password which you will be changing during the first login, a Unique instance id and the desired hostname
After a few minutes the VM is provisioned

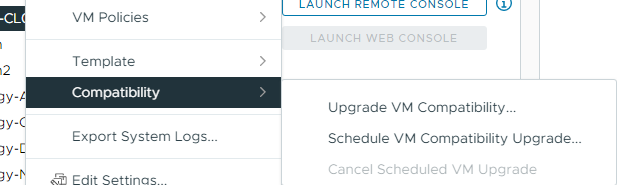
If you want you can Upgrade the compatibility of the VM by right clicking on the VM, selecting Upgrade VM Compatibility, Yes
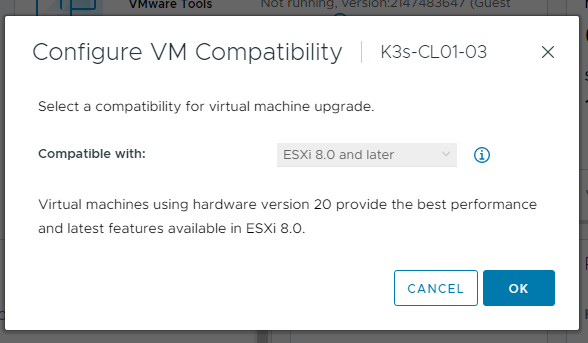
select the Compatible with and OK
Start the VM login with username ubuntu and the password you have set and change the password.